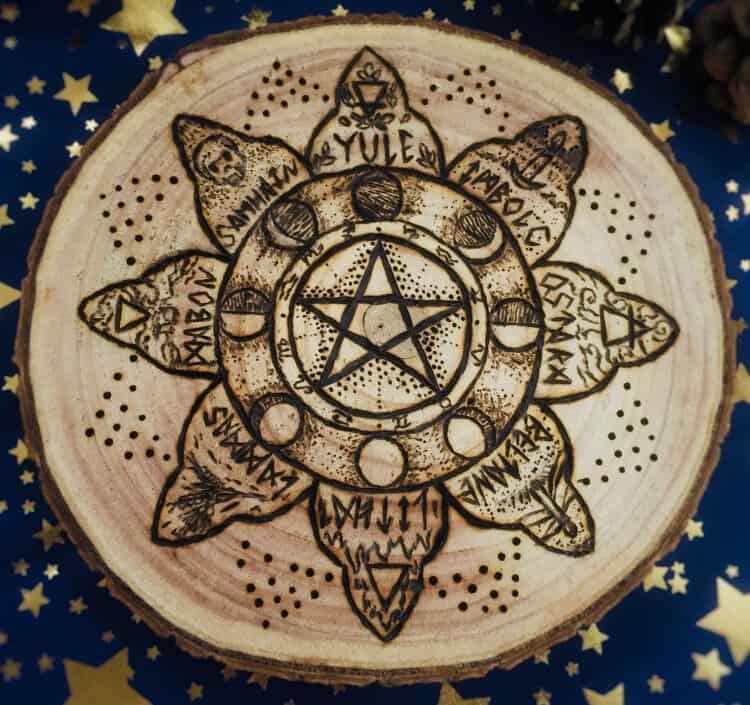

You too can make a homemade pentacle. It is easier than you may think. Here a re three different ways in which you can go about doing this. I have selected just three ways but you can try any way that you please. Enjoy creating!
What is a pentacle used for:
Lets begin first with clarifying what a pentacle is used for and why witches and pagans choose to create them. Here are a few ways in which a pentacle is used:
- On your altar to consecrate items for your rituals
- To magickly charge items
- To bless or charge talismans or amulets
- To represent the element of Earth
RECEIVE NEW
ARTICLES
EVERY WEEK!
Never miss out again! Be the first to read the newest posts to help you continue learning & expanding your knowledge!
Which material do you want to work with to create your personal, homemade pentacle!
WOOD:
What you need:
- A wooden disc (any kind of wood you want & any size you want)
- A pentacle design
- Paint and paint brush or wood burner pen
- Clear varnish and a brush.
Step by step guide for a wooden pentacle:
STEP 1:
- Find a pentacle image that you like (in a book, online etc.)
- Print out the image of the pentacle in black and white
- Resize the image (if necessary) depending on the size of your wooden disc (you want it to fit nicely on top of your piece of wood)
STEP 2:
- Once you have it the size you want, place it on top of your wooden disc
- Use a pencil to trace over the outline of the pattern pressing down hard so that you make an indentation in the wood.
- Remove the paper and use the pencil to go back over the indents made in the wood
STEP 3:
- If you’re painting: use your paint to go over the pencil lines
- If you’re using a woodburning pen: carefully trace over the lines with the pen
- Let the wood dry/cool
- Once everything is dry or cool, brush a few coats of clear varnish over your design (this will protect it for wear & tear and give it some shine!)
Optional: You can drill a hole in the center to use for incense sticks.
METAL:
What you need:
- Craft wire
- An item with the diameter size you want for your pentacle (eg. plate, varse, bottle etc.)
- Wire cutters
- Needle nosed pliers
- Plain paper
- Pen or pencil
- Straight edge (ruler or something similar)
- Pencil-style soldering iron (it is the least expensive soldering iron)
- Resin core solder wire .062 inches in diameter
Step by step guide for a metal pentacle:
STEP 1:
- Wrap the wire around the form to create a circle
- Twist the wire ends together twice to secure the shape
- Slip the ring from the form
STEP 2:
- Snip the excess wire with the wire cutters
STEP 3:
- Pinch the ends of the tails with the tip of the pliers and wrap them into small loops
STEP 4:
- Get your piece of paper and pen
- Draw a circle on the paper the same size as the metal pentacle ring
STEP 5:
- Draw a pentagram inside the circle
- Use a ruler (or something similar) to make straight edges for precise lines
STEP 6:
- Cut wire pieces the same length as the lines forming the pentagram
STEP 7:
- Position the first two pieces of metal on top of the paper pattern to form a point
STEP 8:
- Get the pencil-style soldering iron ready
- Heat the soldering iron
- Touch the end of the solder wire to the tip
- Wipe or flick off any excess solder
STEP 9:
- Heat the joint between the two wires with the soldering iron while holding the end of the soldering wire to the joint.
- Avoid making contact between the soldering wire and the iron
- Hold the wire to the joint until the solder melts and coats the joint.
STEP 10:
- Assemble and solder the pentagram one wire at a time
STEP 11:
- Position the finished pentagram onto the metal ring
- Solder each point to the ring.
STICKS:
What you need:
- Two types of sticks: one that you can bend without snapping (eg. fox grape, buckthorn, bittersweet, willow) and one that is firm (eg. rose bush, hazels, cherry, maple etc.)
- If you want a small pentacle go for shorter sticks – min. 5
- If you want a larger pentacle go for larger sticks – min. 5
- Craft cotton/wire for tying
- Trimming knife (optional)
- Paint & brush (optional)
Step by step guide for pentacle made with sticks:
STEP 1:
- Select 3 pieces of the bendy sticks
STEP 2:
- Start with the thicker end first
- Make a circle
- keep working around, twisting it as you go.
- Coax the material to do what you want it to do
- Help the wood bend by slowly bending it
- You should be able to have the end tuck in around the wreath
TIP: Don’t worry if its completely circular at this point yet – just keep adding material.
STEP 3:
- Added in a second piece (don’t worry about the ends – you will deal with those at the end)
- Keep wrapping the sticks until you get a wreath the size you want (you can have 3 or more pieces of bendy sticks)
- If the wood is wet you may need to secure it with some wire (you can remove the wire when its dry)
NOTE: As the wood dries it will become very tight and will hold together on its own in shape. This is when you can
trim any ends that are sticking out or, wait till they are dry and trim them.
STEP 4:
- Get your five straight sticks
- If your pieces are quite thick, you might shave them down on one side
TIP: Fresh sticks are best because you will have to bend them a bit over each other to get the effect right
STEP 5:
- Construct your pentacle
- Attach two of the straight sticks to the top of the circle part of the pentacle with craft wire or strong cotton.
- 1/5 of the way down from the top, attach the next two sticks
- Attach the other star point that can be completed
- Add in your 5th branch and figure out how to best fit it (it might fit better under rather than over previously attached sticks)
- Keep attaching each of the sides
- Attach your last sticks (work with these wet because you may have to bend them a little to attach them to the circle)
TIP: You can mess around with which sticks to put on top/bottom as you go – some sticks will fit better on top or bottom than others.
STEP 6:
- Let your pentacle dry out completely
STEP 7:
- Brush with paint (or just leave it natural)
RECEIVE NEW
ARTICLES
EVERY WEEK!
Never miss out again! Be the first to read the newest posts to help you continue learning & expanding your knowledge!